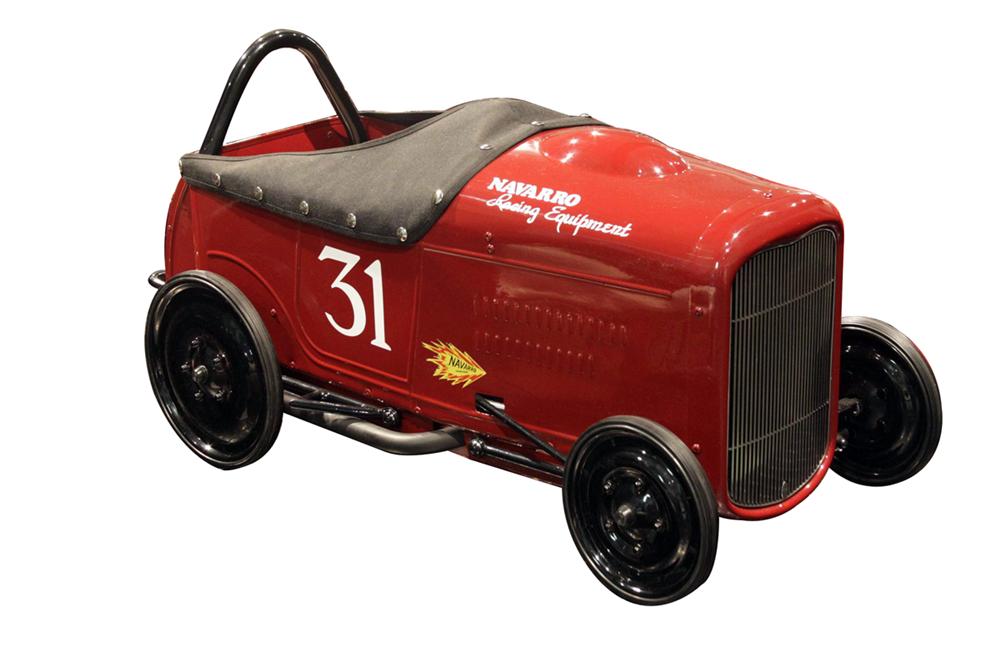
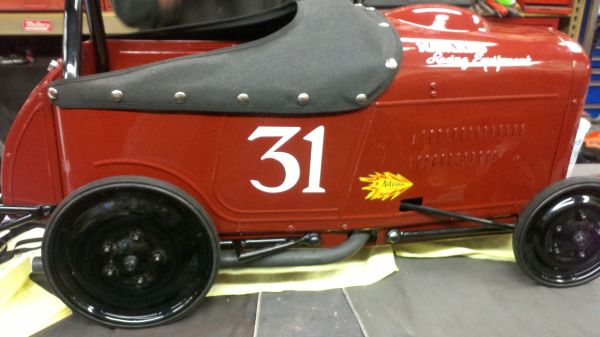
Steve’s Auto Restorations pedal car
Steve Frisbie of Steve’s Auto Restorations built this pedal car for the Petersen museums auction. The car was finished last year in time to make it to the 2012 Grand National Roadster Show in January.

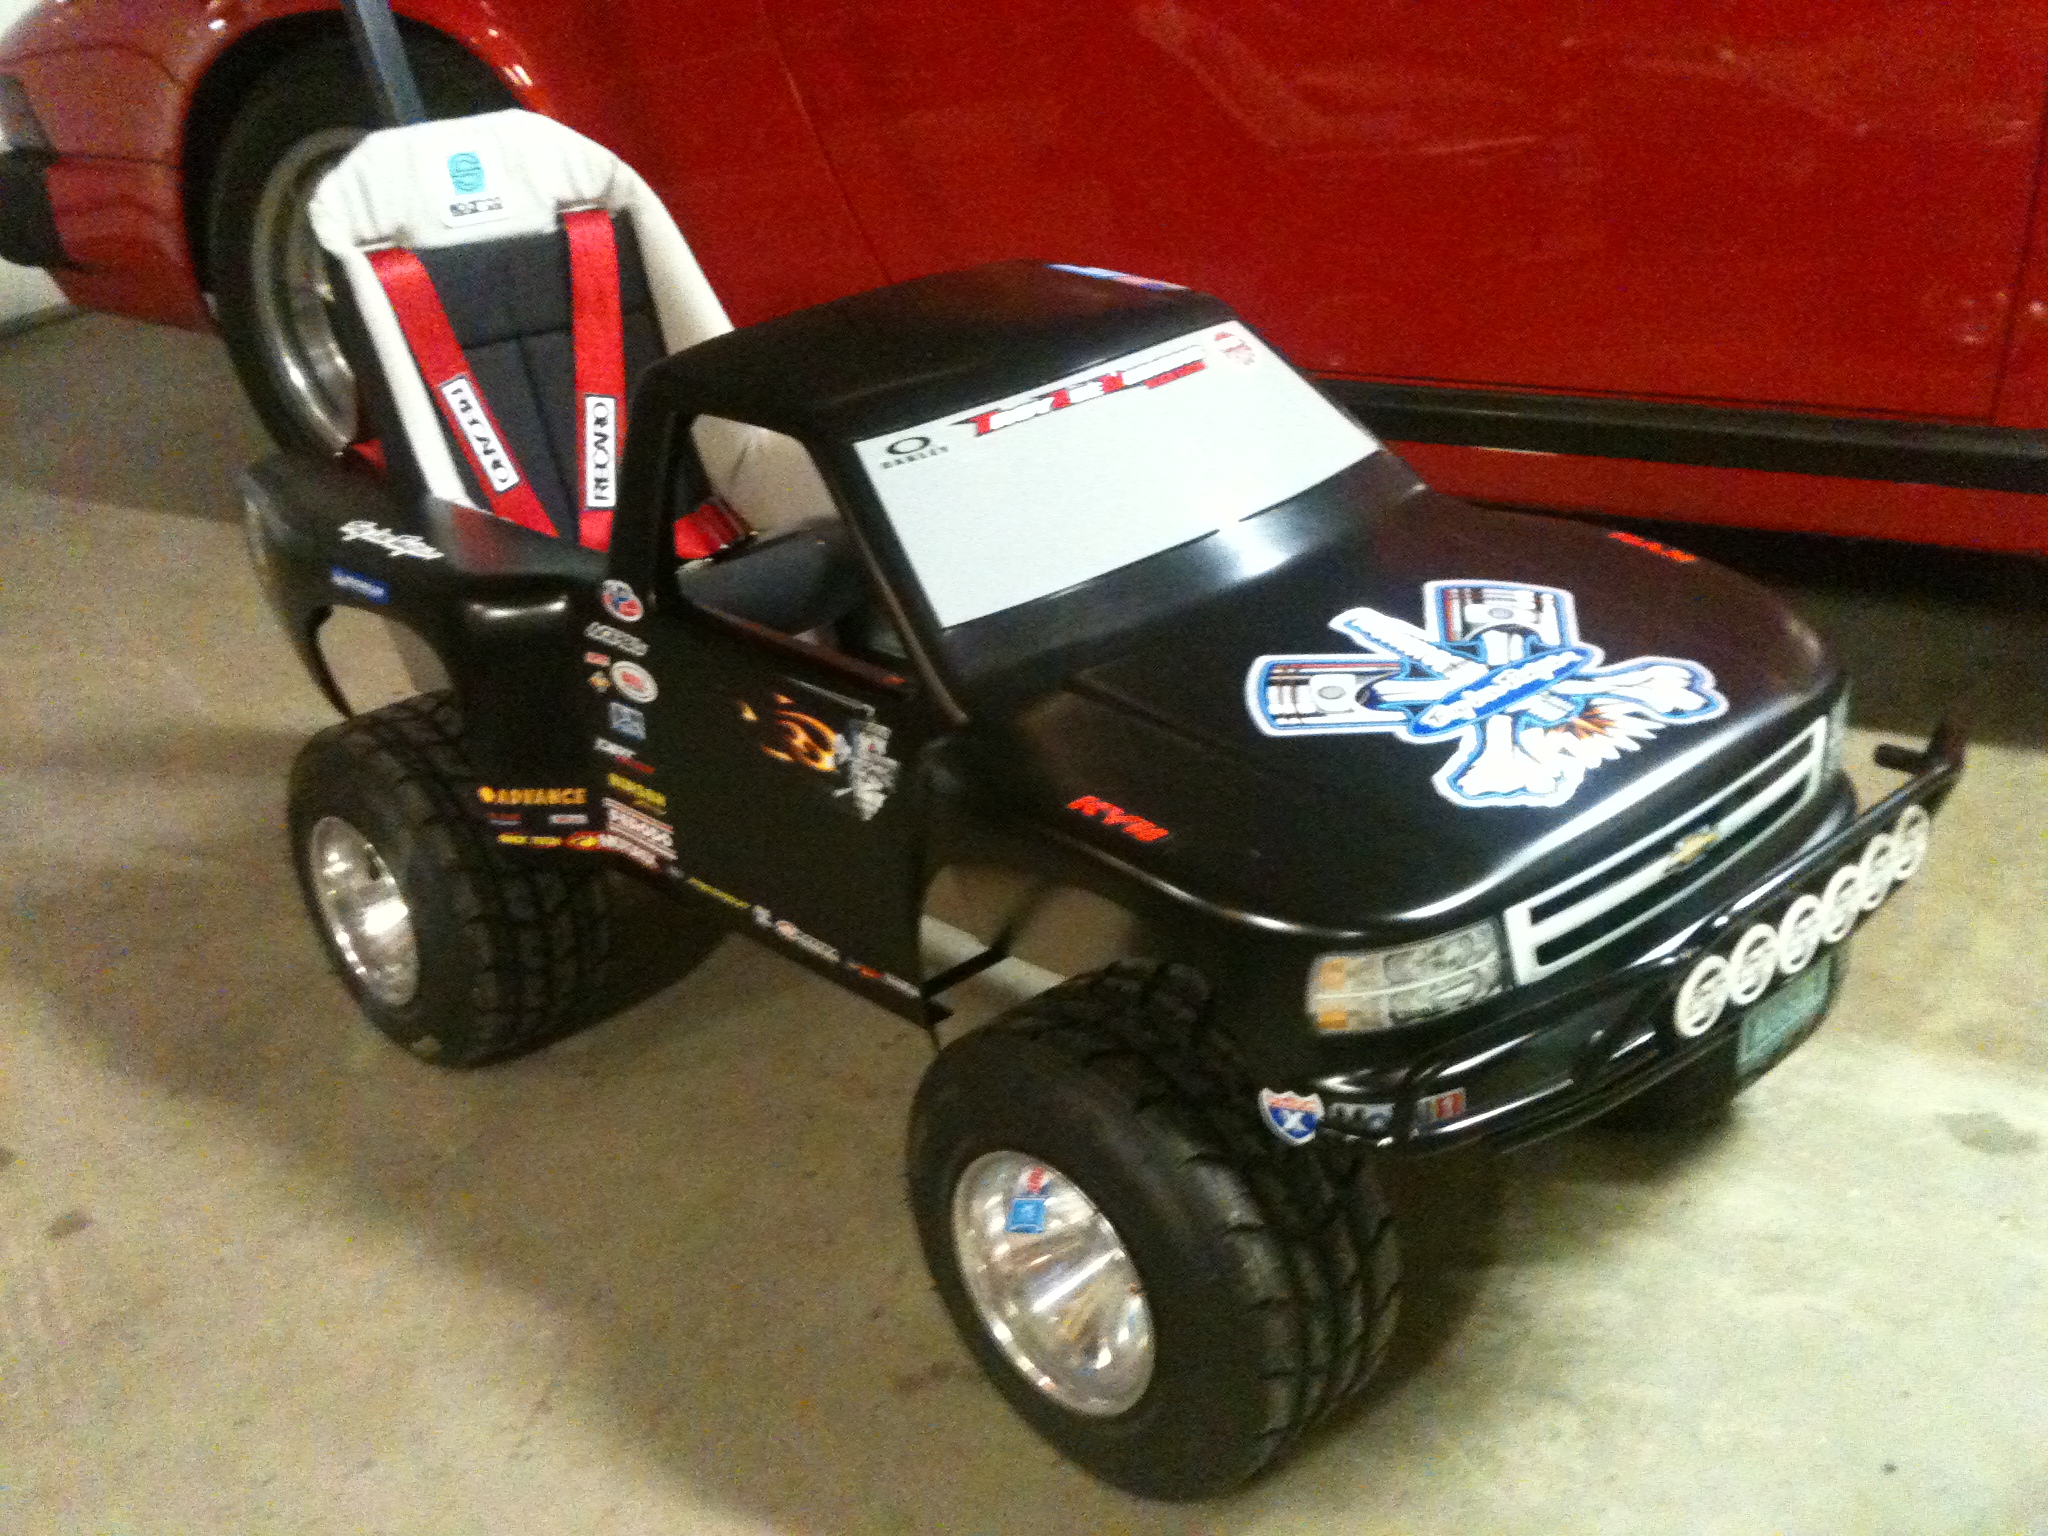
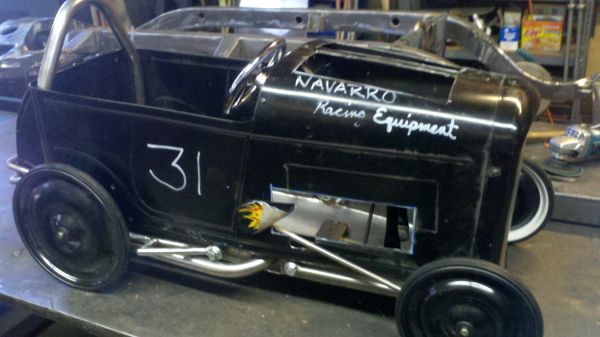
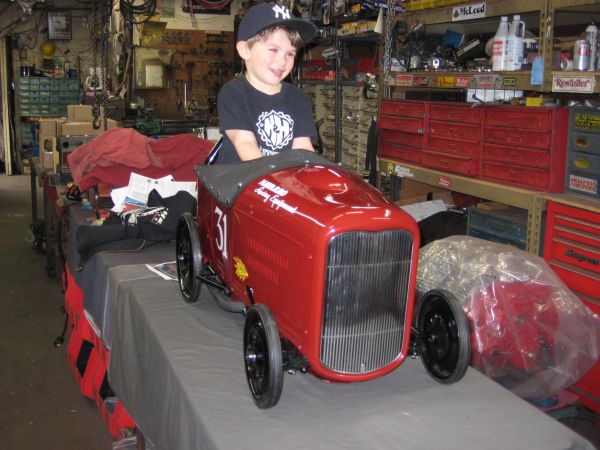
Steve’s auto restorations pedal car in Mock up mode.
As you can see in the top picture, this pedal car body is far from stock. The car was taken apart and completely rebuilt into what you see here for the auction. From custom leather interior, a stainless steel tube grille to chrome ”one-off” hubcaps this little car is full of all kinds of custom tricks.

I beam front with hairpins
I especially like the drilled “I” beam front axle with hairpins. Take a close look at the mounts for the steering linkage. Those ball and socket couplers are super clean and look the biz. I will definitely be including those on my next build. It’s tricks like that make a project really look great. The guys at SAR really know how to build’em.

Front end in chrome by Steve’s auto restorations
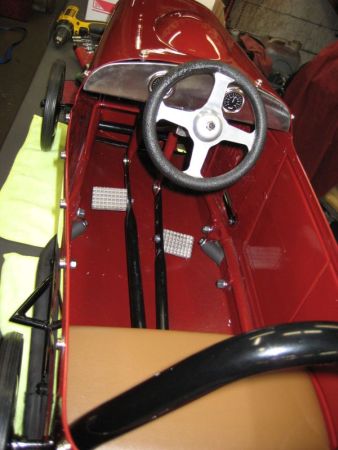
With the exterior and suspension out of the way, they tackled the interior next. Tuck and roll leather door cards and seat fill out the interior and it looks great.

Tuck and roll interior by Steve’s Auto restorations.
The custom steering wheel and “mini” art deco 1920′s dash gauge cluster round out the interior mods.

Custom art deco dash and steering wheel by Steve’s auto restorations.
These headlights do not come with the pedal cars as shipped and are in fact “mini” Woodlites. They really dress up the front end and help finish it off perfectly.

Custom headlights and front end.
All in all another great car for the Petersen museum auction. Hopefully you have been able to find some neat ideas for your pedal car project.
Chad E